
Table of Contents
Why You’ll Love This Easy Banana Pudding Recipe
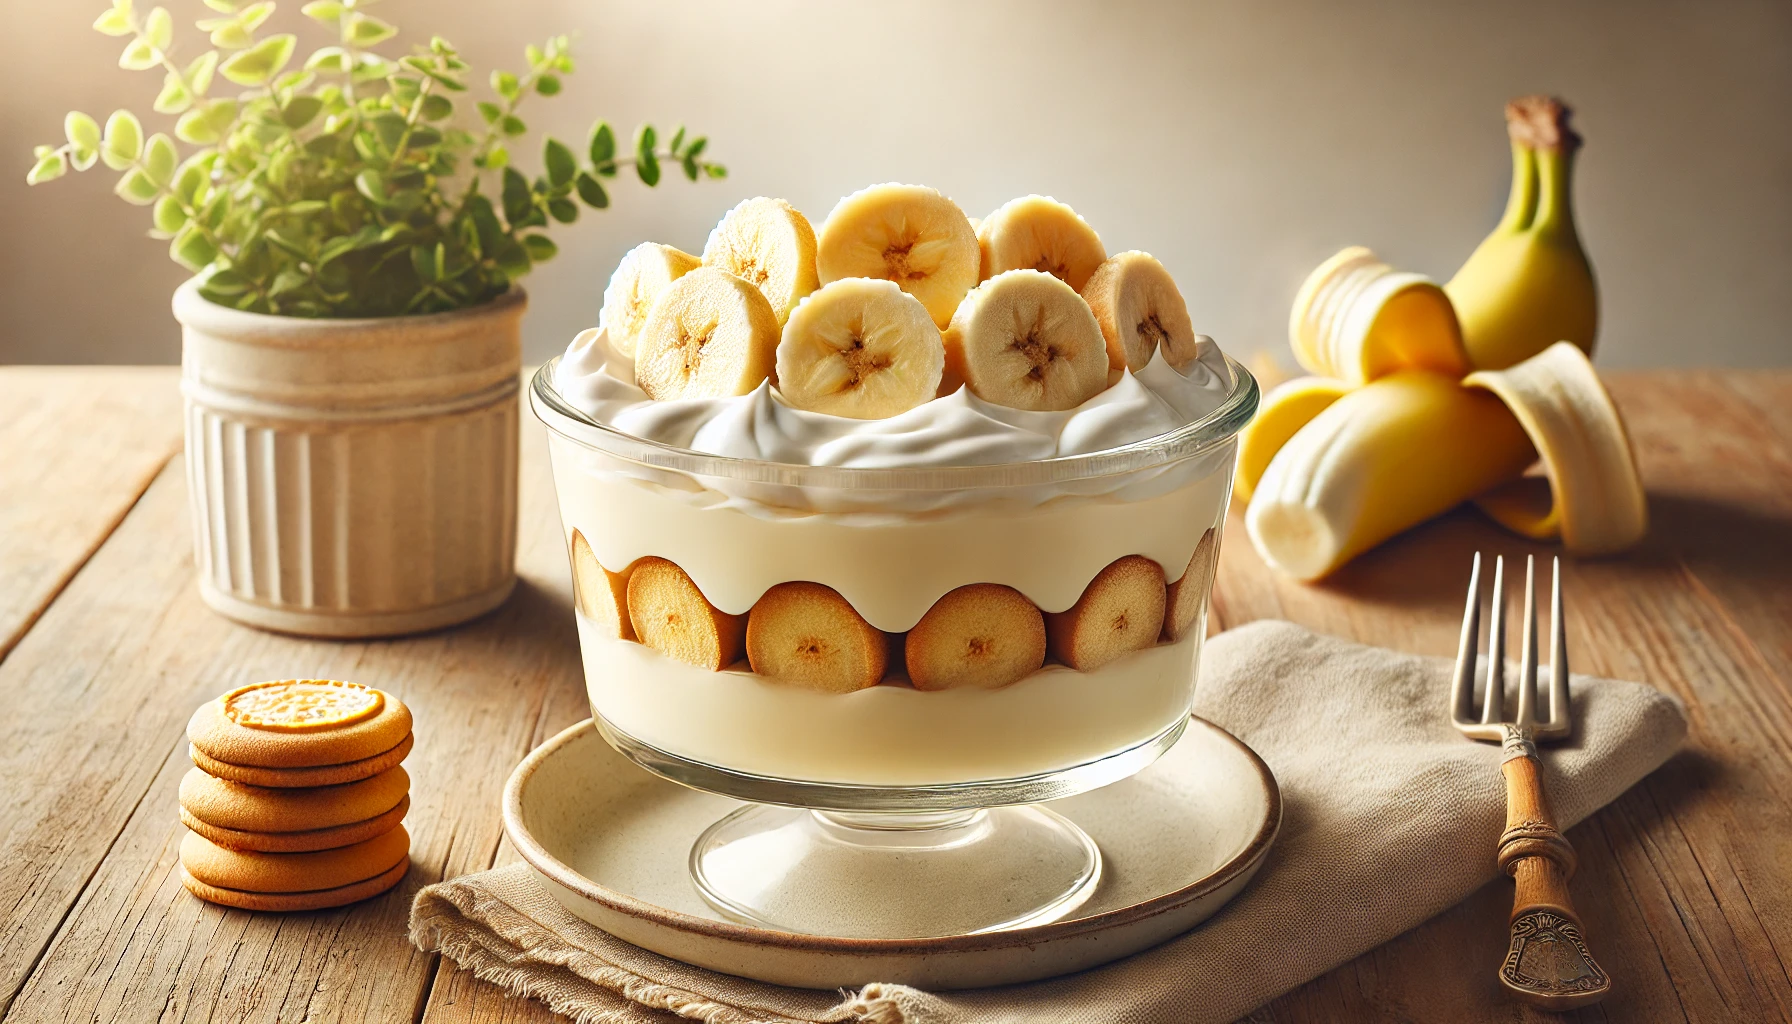
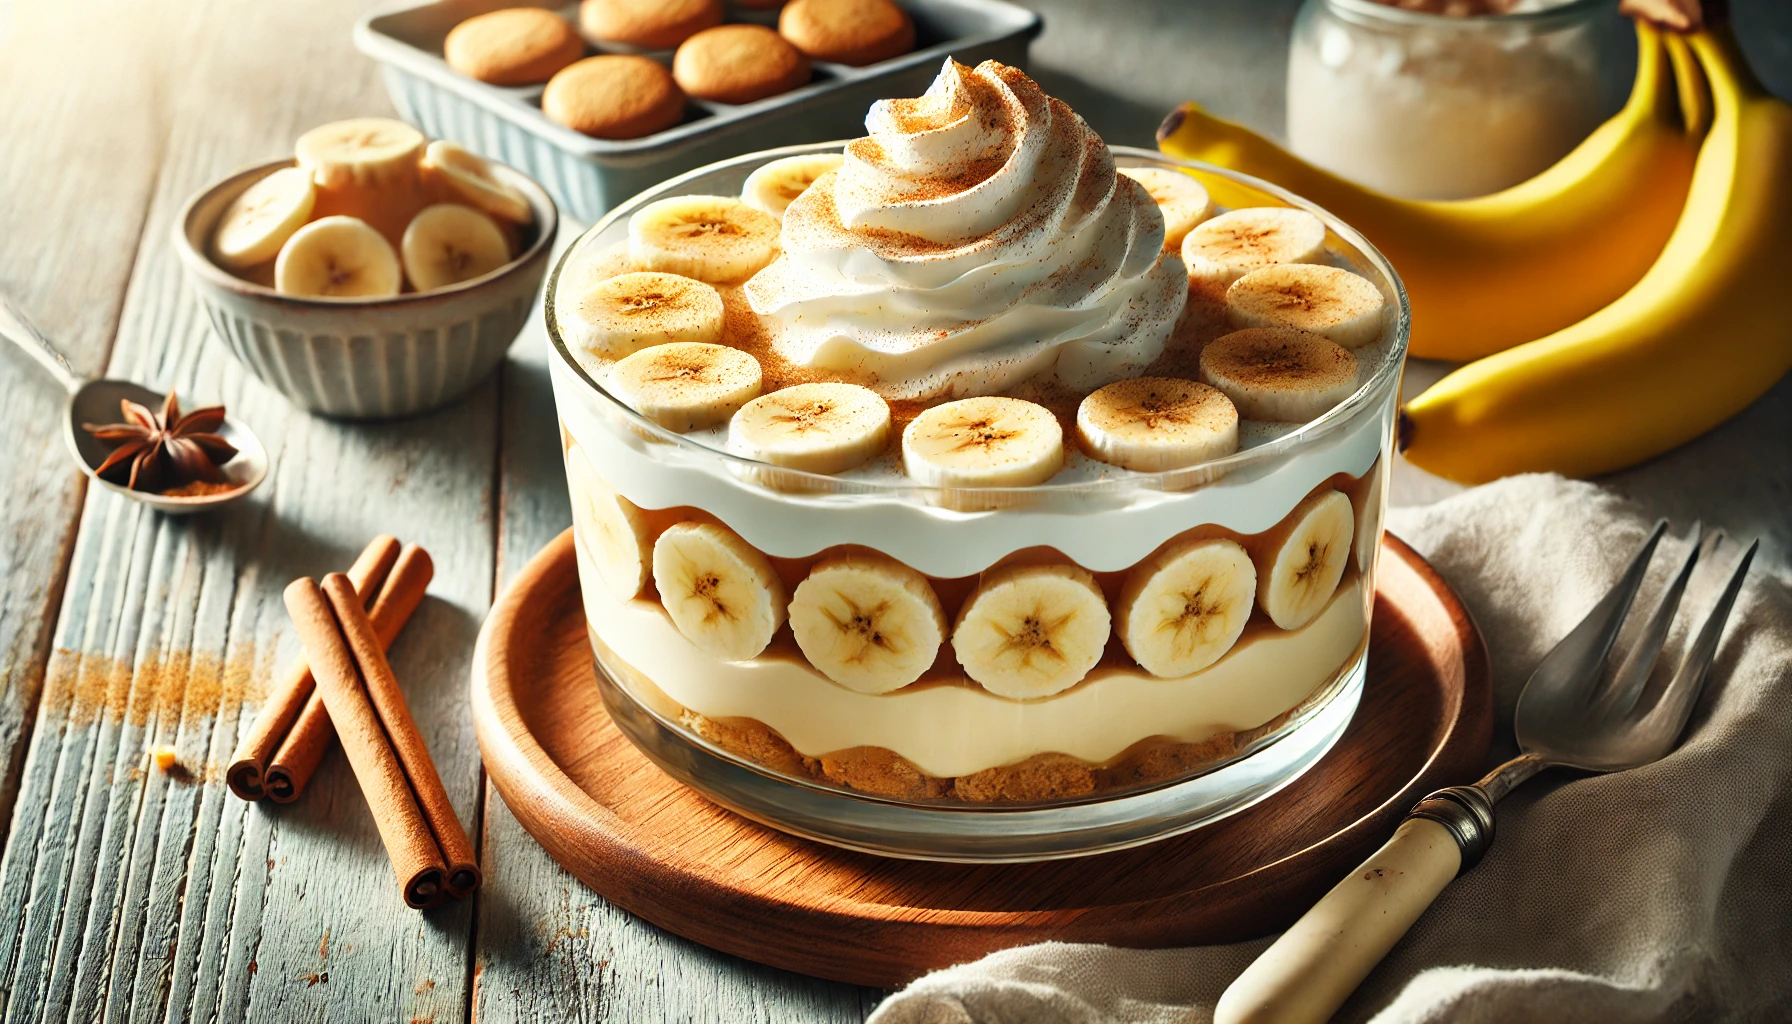
Banana pudding is a timeless dessert loved for its creamy texture, layered sweetness, and the deliciously soft bananas that make it unforgettable. This easy banana pudding recipe simplifies the traditional approach, offering a dessert that anyone can whip up at home with just a few ingredients and minimal effort. Here’s why this recipe stands out and is perfect for any occasion:
- Simple and Quick: This banana pudding recipe doesn’t require baking or advanced techniques, making it a perfect choice for beginners or anyone pressed for time.
- Perfect for Gatherings: Whether it’s a family reunion, a holiday party, or a casual get-together, banana pudding is a crowd-pleaser. It’s easy to make in large batches, which is ideal for serving a group.
- Kid-Friendly and Nostalgic: Many people have childhood memories of enjoying banana pudding. This dessert is a hit with kids and brings out nostalgia for adults, making it a comforting and familiar treat.
- Customizable: From no-bake to vegan variations, you can easily adapt this recipe to suit dietary preferences. Whether you want it lighter, creamier, or dairy-free, there’s an option for everyone.
Quote: “Banana pudding is one of those classic desserts that never goes out of style. With layers of creamy pudding, fresh bananas, and a hint of vanilla, it’s comfort food at its best.”
Fun Fact: Did you know that banana pudding’s origins can be traced back to the American South? It’s considered a Southern dessert staple, traditionally made with vanilla wafers and layered custard.
With this easy banana pudding recipe, you’ll have the perfect combination of convenience and flavor. Let’s dive into the ingredients needed to make the best banana pudding ever!
Ingredients Needed for the Best Easy Banana Pudding Recipe
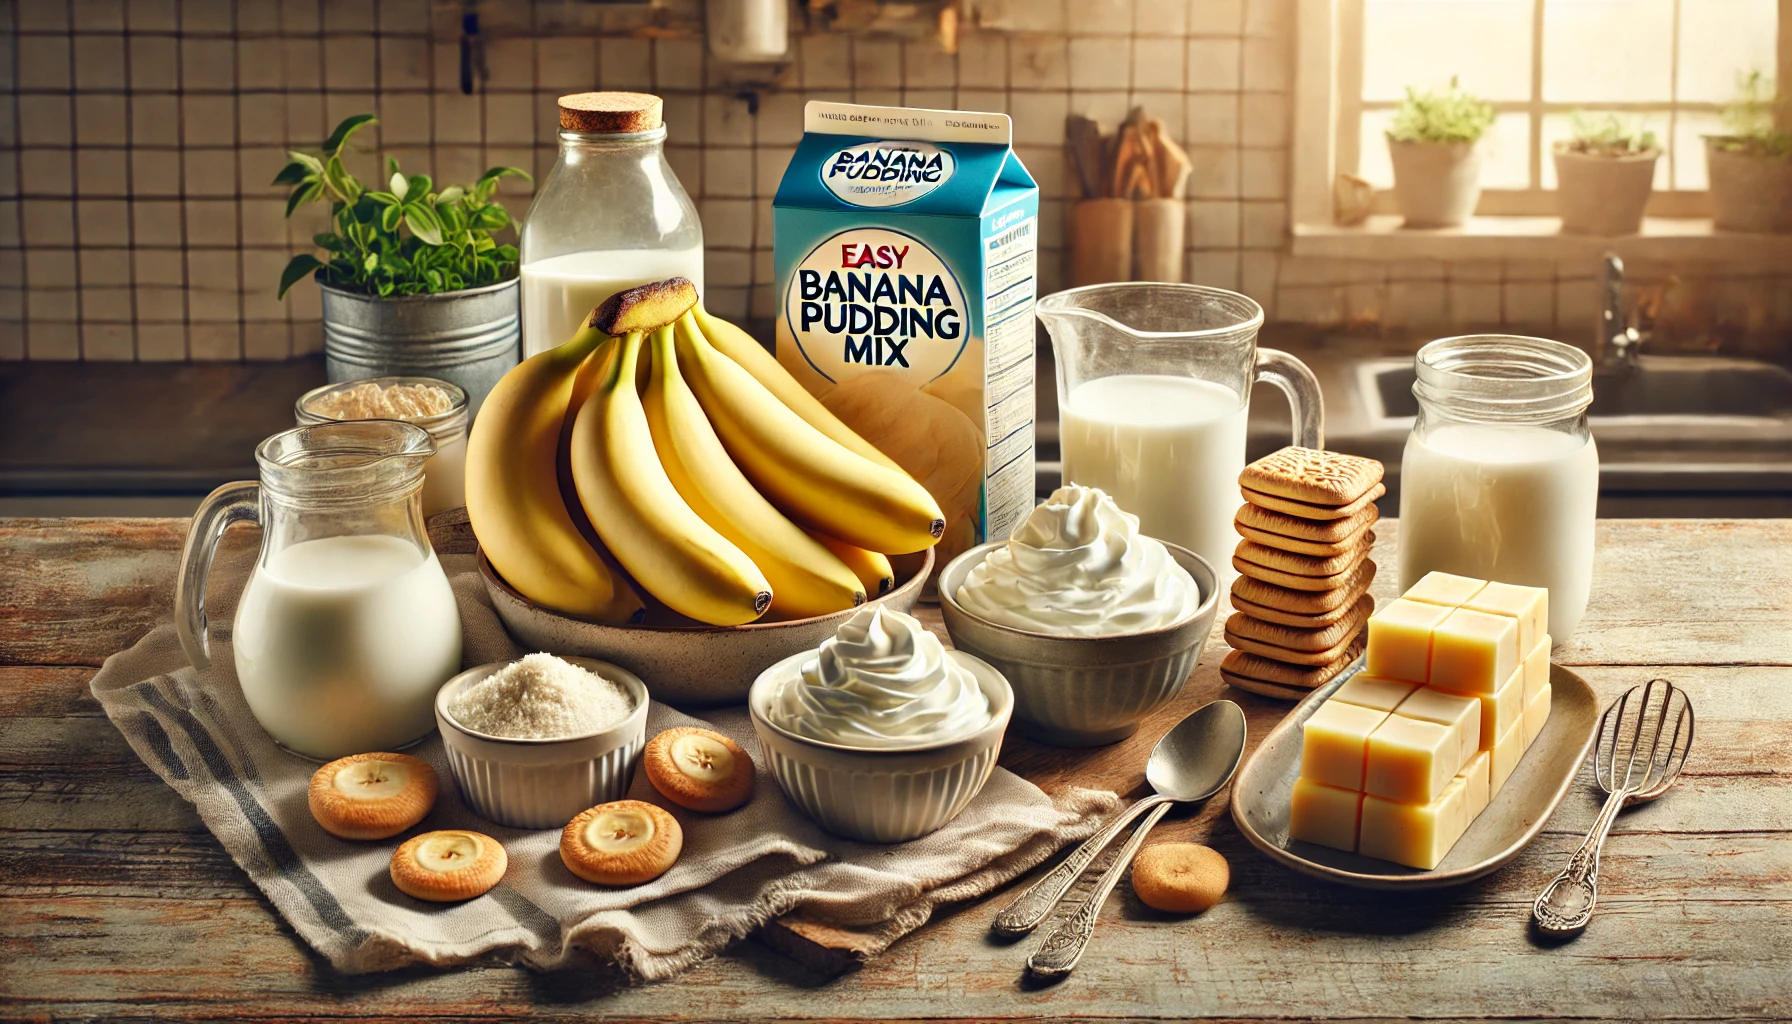
To create the perfect easy banana pudding, you’ll need a few simple ingredients. These ingredients help to keep the preparation quick without sacrificing flavor. Here’s a breakdown of the essential ingredients and some optional add-ins to personalize your pudding.
Core Ingredients
- Bananas:
Choose bananas that are ripe but still firm. Overly ripe bananas can become mushy in the pudding, while firm ones retain a nice texture and balance the sweetness.
Tip: Look for bananas with yellow peels and a few brown speckles—perfect ripeness for banana pudding. - Vanilla Pudding Mix:
Using instant vanilla pudding mix makes this recipe fast and foolproof. It provides a creamy texture and rich vanilla flavor in minutes. If you prefer, you can substitute with homemade vanilla pudding (see the FAQ section for details). - Milk:
Whole milk is commonly used for a creamier consistency, but you can opt for almond or oat milk for a dairy-free version. Ensure the milk is cold, as it helps the pudding mix thicken quickly. - Whipped Cream or Cool Whip:
Whipped cream or Cool Whip adds a light and airy texture, giving the dessert its famous fluffiness. You can use homemade whipped cream for a richer flavor or store-bought for convenience. - Vanilla Wafers:
These cookies provide a delightful crunch and complement the bananas and pudding perfectly. They also absorb some moisture over time, softening into a cakey texture that pairs beautifully with the creamy pudding.
Optional Ingredients for Variations
- Cream Cheese:
Adding a bit of softened cream cheese gives the pudding a thicker, cheesecake-like texture and adds richness. It’s a popular choice for those who prefer a slightly tangy taste in their banana pudding. - Sweetened Condensed Milk:
This ingredient enhances the sweetness and adds a denser texture. It’s often used in Southern-style banana pudding recipes for a richer, more indulgent flavor. - Additional Toppings:
Customize your banana pudding with extra toppings like:- Sliced Strawberries: Adds a hint of tartness and color.
- Chocolate Drizzle: A touch of chocolate syrup brings an extra layer of flavor.
- Caramel Sauce: For those who love caramel, a light drizzle is a perfect addition.
| Ingredient | Amount | Substitutions |
|---|---|---|
| Bananas | 4-5 | Firm, ripe bananas only |
| Vanilla Pudding Mix | 1 box | Homemade pudding (optional) |
| Milk | 2 cups | Almond or oat milk |
| Whipped Cream | 1 cup | Homemade or Cool Whip |
| Vanilla Wafers | 1 box | Graham crackers (optional) |
| Cream Cheese | 4 oz (optional) | Greek yogurt (lighter option) |
| Sweetened Condensed Milk | 1/2 cup (optional) | None |
With these ingredients, you’re set to make a classic, delicious, and easy banana pudding that will impress any crowd. Ready to start assembling? Let’s move on to the preparation steps.
Step-by-Step Guide to Making Easy Banana Pudding
Creating easy banana pudding is straightforward and enjoyable, especially with this step-by-step guide. Follow these instructions, and you’ll have a delicious dessert ready to impress family and friends.
Preparing the Ingredients
Before you begin layering, it’s important to have each ingredient prepared. This makes the process smoother and ensures your pudding has the right texture and flavor balance.
- Slice the Bananas
- Peel and slice your bananas into thin, even rounds. Each banana should yield approximately 10–12 slices, which makes it easier to layer.
- Tip: Avoid slicing the bananas too thinly, as they may turn mushy when layered with the pudding.
- Prepare the Vanilla Pudding
- Using a large mixing bowl, whisk together the vanilla pudding mix and cold milk. Whisk for 2–3 minutes until the pudding thickens and is smooth.
- Alternative: If you’re making homemade vanilla pudding, prepare it in advance and allow it to cool completely.
- Prepare the Whipped Cream
- If using Cool Whip, set it aside to soften slightly. For homemade whipped cream, whip cold heavy cream until soft peaks form, then gently fold it into the pudding mixture for a fluffier texture.
Layering the Banana Pudding
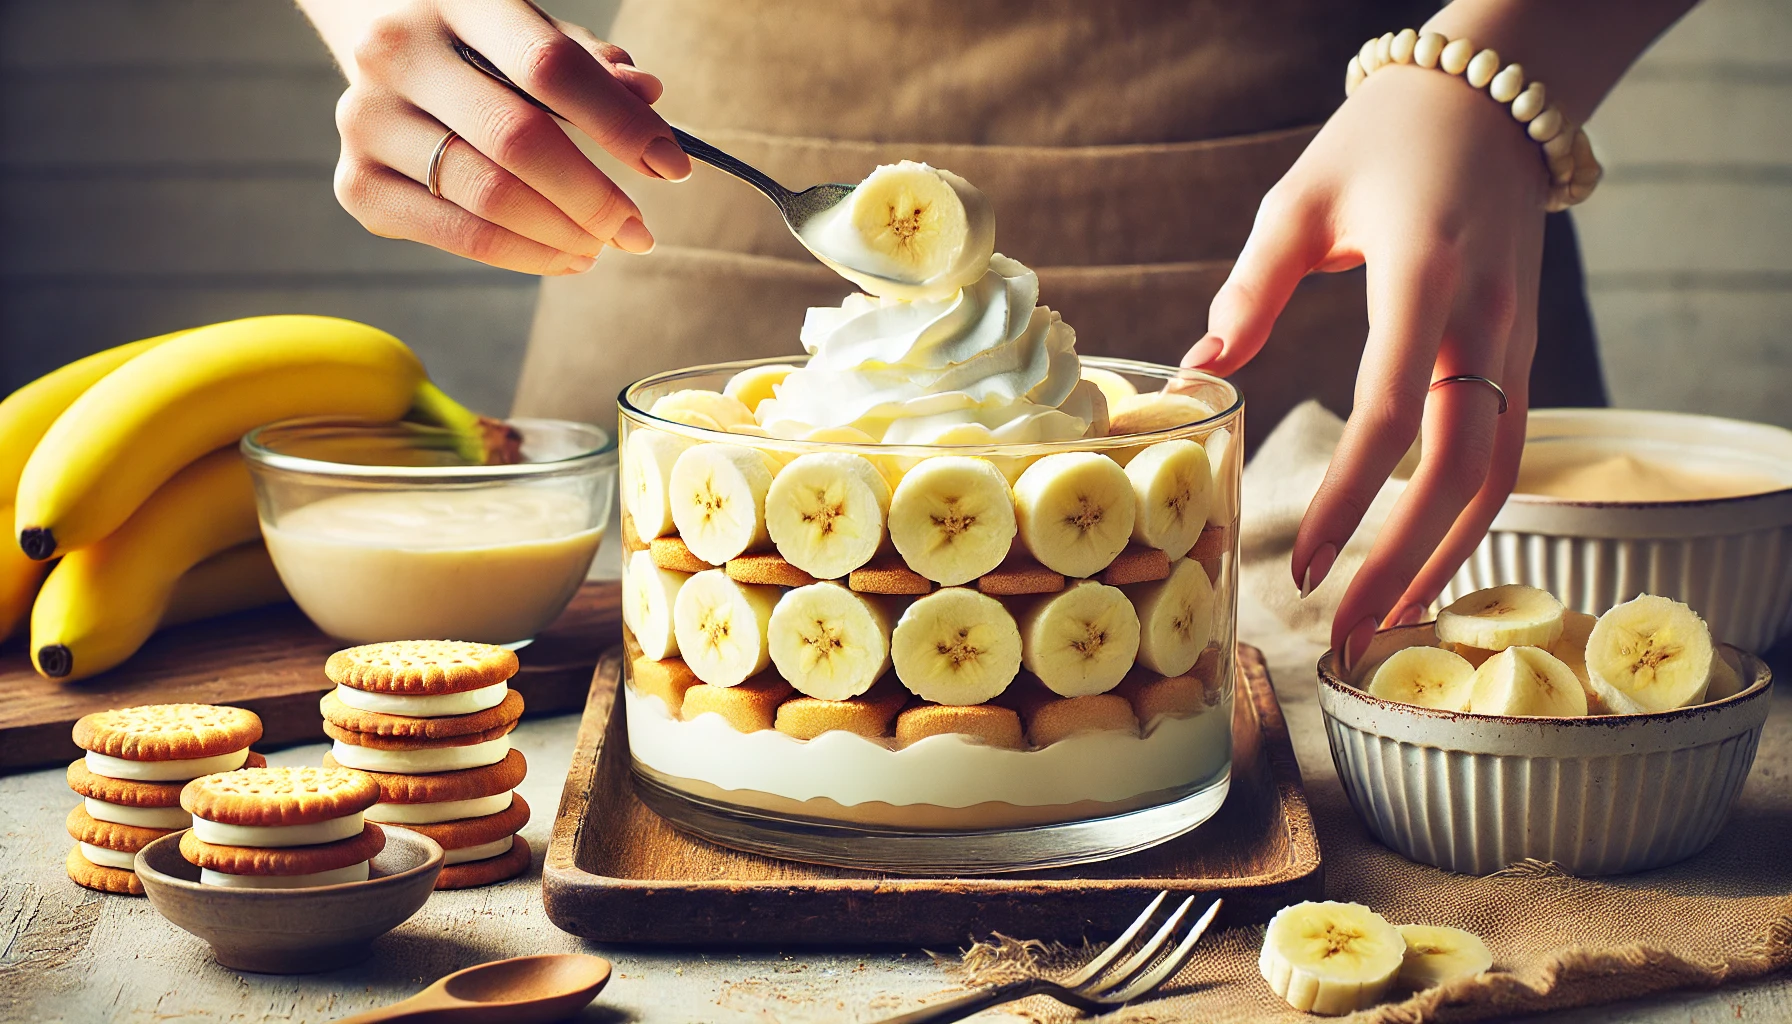
This part of the recipe is where the magic happens! By carefully layering each ingredient, you’ll create a beautifully textured and flavorful dessert.
- Start with Vanilla Wafers
- Place a layer of vanilla wafers at the bottom of your serving dish (either a trifle dish or a baking dish works well).
- The cookies act as the base and will soften as the pudding chills, creating a cake-like layer.
- Add a Layer of Pudding
- Spoon a generous layer of pudding over the vanilla wafers, spreading it evenly to cover all the cookies.
- Add a Layer of Sliced Bananas
- Arrange the banana slices over the pudding layer. Try to create an even layer to ensure every spoonful gets a balanced taste of banana.
- Repeat Layers
- Continue layering vanilla wafers, pudding, and banana slices until you reach the top of your dish.
- Note: Aim to end with a layer of pudding and top with whipped cream for a finished look.
- Top with Whipped Cream and Garnish
- Finish by spreading whipped cream over the top layer. For extra flair, add crushed vanilla wafers, sliced bananas, or a sprinkle of cinnamon.
Tips for the Best Texture and Flavor
- Chill for Best Results:
- Cover the dish and refrigerate for at least 4 hours, or ideally overnight. This allows the flavors to meld and gives the pudding a creamy, cohesive texture.
- Serving Tip:
- Serve cold directly from the fridge, as banana pudding tastes best when chilled.
By following these steps, you’ll have a perfectly layered, creamy, and satisfying banana pudding that’s sure to be a hit.
Variations on the Classic Easy Banana Pudding Recipe
One of the best parts about banana pudding is its versatility. You can tweak this easy banana pudding recipe to suit different tastes, dietary needs, or preparation methods. Here are some popular variations to try, whether you want a healthier twist, a vegan option, or a no-bake version.
No-Bake Banana Pudding Recipe
For those looking to avoid baking altogether, this no-bake version simplifies the process while preserving all the flavor and creamy texture.
- Quick Preparation: Since no cooking is required, this version is ideal for last-minute gatherings or as an easy dessert for busy weeknights.
- Instructions: Simply follow the original steps to layer vanilla wafers, instant vanilla pudding, and bananas in your serving dish. Refrigerate until set, allowing the wafers to soften without baking.
Tip: Chill the no-bake banana pudding for at least 4 hours or overnight to ensure the layers meld together.
Healthy Banana Pudding Recipe
For a lighter option, you can make some smart substitutions that reduce the calorie count while still delivering on taste.
- Use Low-Fat or Plant-Based Milk:
Swap whole milk for almond milk, oat milk, or low-fat milk. This will reduce calories and can make the pudding dairy-free if needed. - Greek Yogurt Instead of Whipped Cream:
Greek yogurt provides a tangy, protein-packed alternative to whipped cream. Fold in a little honey or vanilla extract for extra flavor. - Skip the Sweetened Condensed Milk:
If you like to control the sweetness, leave out the sweetened condensed milk or use a reduced-sugar pudding mix.
Bonus: With these tweaks, you can reduce fat and sugar while enjoying a more balanced dessert.
Vegan Banana Pudding Recipe
For a dairy-free and vegan-friendly banana pudding, try these substitutions:
- Almond Milk or Coconut Milk for the Pudding Mix:
Both almond and coconut milk work well with instant pudding mix. Just make sure your pudding mix is vegan, as some brands contain dairy. - Coconut Whipped Cream:
Coconut whipped cream (made from canned coconut milk) offers a creamy, dairy-free alternative to Cool Whip or traditional whipped cream. You can find it pre-made or make it at home. - Vegan Vanilla Wafers:
Replace the traditional vanilla wafers with a vegan brand, or use graham crackers if you prefer. This keeps the dessert dairy-free while still providing a crunchy texture.
Creative Additions for Extra Flavor
- Add Nutty Toppings:
Sprinkle chopped pecans or walnuts on top for added crunch and a hint of nuttiness. - Chocolate Layer:
For chocolate lovers, add a layer of chocolate pudding or chocolate chips between the banana and vanilla pudding layers. - Caramel Drizzle:
A light drizzle of caramel sauce on top of the whipped cream layer adds a decadent touch.
| Variation | Key Ingredient Changes | Preparation Tips |
|---|---|---|
| No-Bake | No baking required, just chill and serve | Chill for at least 4 hours for best texture |
| Healthy | Low-fat milk, Greek yogurt instead of whipped cream | Use honey for sweetness if needed |
| Vegan | Almond/coconut milk, coconut whipped cream, vegan wafers | Ensure pudding mix is vegan-compatible |
| Creative Additions | Nut toppings, chocolate chips, caramel drizzle | Add these toppings right before serving |
With these variations, you can create a banana pudding that suits your preferences or dietary needs without losing that classic flavor and texture. Each option is a fun twist on the classic easy banana pudding recipe that you and your guests will enjoy.
How to Store Banana Pudding for Maximum Freshness
To keep your easy banana pudding tasting fresh and delicious, proper storage is key. Banana pudding can be sensitive to time and temperature, especially with the fresh bananas and whipped cream. Here’s how to store it effectively for the best flavor and texture.
Refrigeration Tips
Since banana pudding contains fresh ingredients, it should be stored in the refrigerator. Here’s how to keep it fresh:
- Cover Tightly
- Use plastic wrap or an airtight container to cover the pudding. This will help prevent the bananas from browning and keep the pudding from absorbing any unwanted odors in the fridge.
- Store in Individual Containers
- If you’ve made the pudding in a large serving dish, consider transferring portions to individual containers before refrigerating. This minimizes air exposure and helps retain freshness.
- Storage Duration
- Best consumed within 2-3 days: Banana pudding is freshest within the first few days. After that, the bananas may start to brown, and the wafers might become overly soft.
- Up to 5 days: You can still store it for up to five days, but the texture may change. The flavor will be intact, but the pudding might lose its initial creamy consistency.
Can You Freeze Banana Pudding?
Freezing banana pudding is possible, but it’s generally not recommended if you want to preserve the classic creamy texture. Here’s what you need to know if you decide to freeze it:
- Texture Changes
- Freezing can cause the pudding to become slightly grainy once thawed, as the water content in the bananas and pudding freezes and affects the smoothness.
- How to Freeze Banana Pudding
- For best results, freeze individual portions in airtight containers. Wrap the container with an additional layer of foil or plastic wrap to protect against freezer burn.
- Thawing Instructions
- To thaw, transfer the pudding to the refrigerator for several hours or overnight. Avoid microwaving or heating, as it may separate the pudding and make the bananas mushy.
| Storage Method | Timeframe | Tips |
|---|---|---|
| Refrigerator | 2-3 days (best flavor) | Cover tightly with plastic wrap or use airtight container |
| Refrigerator | Up to 5 days (texture may change) | Store in individual containers if possible |
| Freezer | 1 month | Texture will change; thaw in fridge overnight |
Note: For the freshest experience, it’s best to prepare banana pudding a day before serving and store it in the fridge rather than the freezer.

By following these storage tips, you can enjoy every bite of your banana pudding with maximum freshness and the right texture.
Pro Tips for Making the Perfect Banana Pudding
To elevate your easy banana pudding recipe and ensure it’s a hit every time, follow these expert tips. They’ll help you achieve the ideal texture, flavor, and presentation.
- Achieve a Creamy Texture Without Lumps
- Whisk the pudding thoroughly to ensure it’s smooth before layering. This helps avoid lumps and gives a creamy consistency.
- Avoid Soggy Wafers
- If you prefer a bit of crunch, serve the pudding shortly after assembling or layer the wafers just before serving to keep them crisp.
- Enhance Flavor with Vanilla Extract
- Add a touch of vanilla extract to the pudding mix for a richer, more aromatic flavor. A half-teaspoon is enough to bring out the vanilla notes.
- Use Fresh, Firm Bananas
- Choose bananas that are just ripe. Overripe bananas can become mushy and may turn the pudding darker over time.
- Chill for at Least 4 Hours
- Chilling allows the layers to set and the flavors to meld, making each bite tastier. Overnight chilling is even better for flavor infusion.
- Layer Carefully for a Beautiful Presentation
- Take your time with each layer. A carefully layered banana pudding not only tastes amazing but also looks visually appealing when served.
Tip: If making banana pudding for a special occasion, garnish with extra banana slices, a sprinkle of cinnamon, or a dollop of whipped cream for added appeal.
By keeping these pro tips in mind, you’ll make a banana pudding that’s creamy, flavorful, and perfectly balanced.
Serving Ideas for Easy Banana Pudding
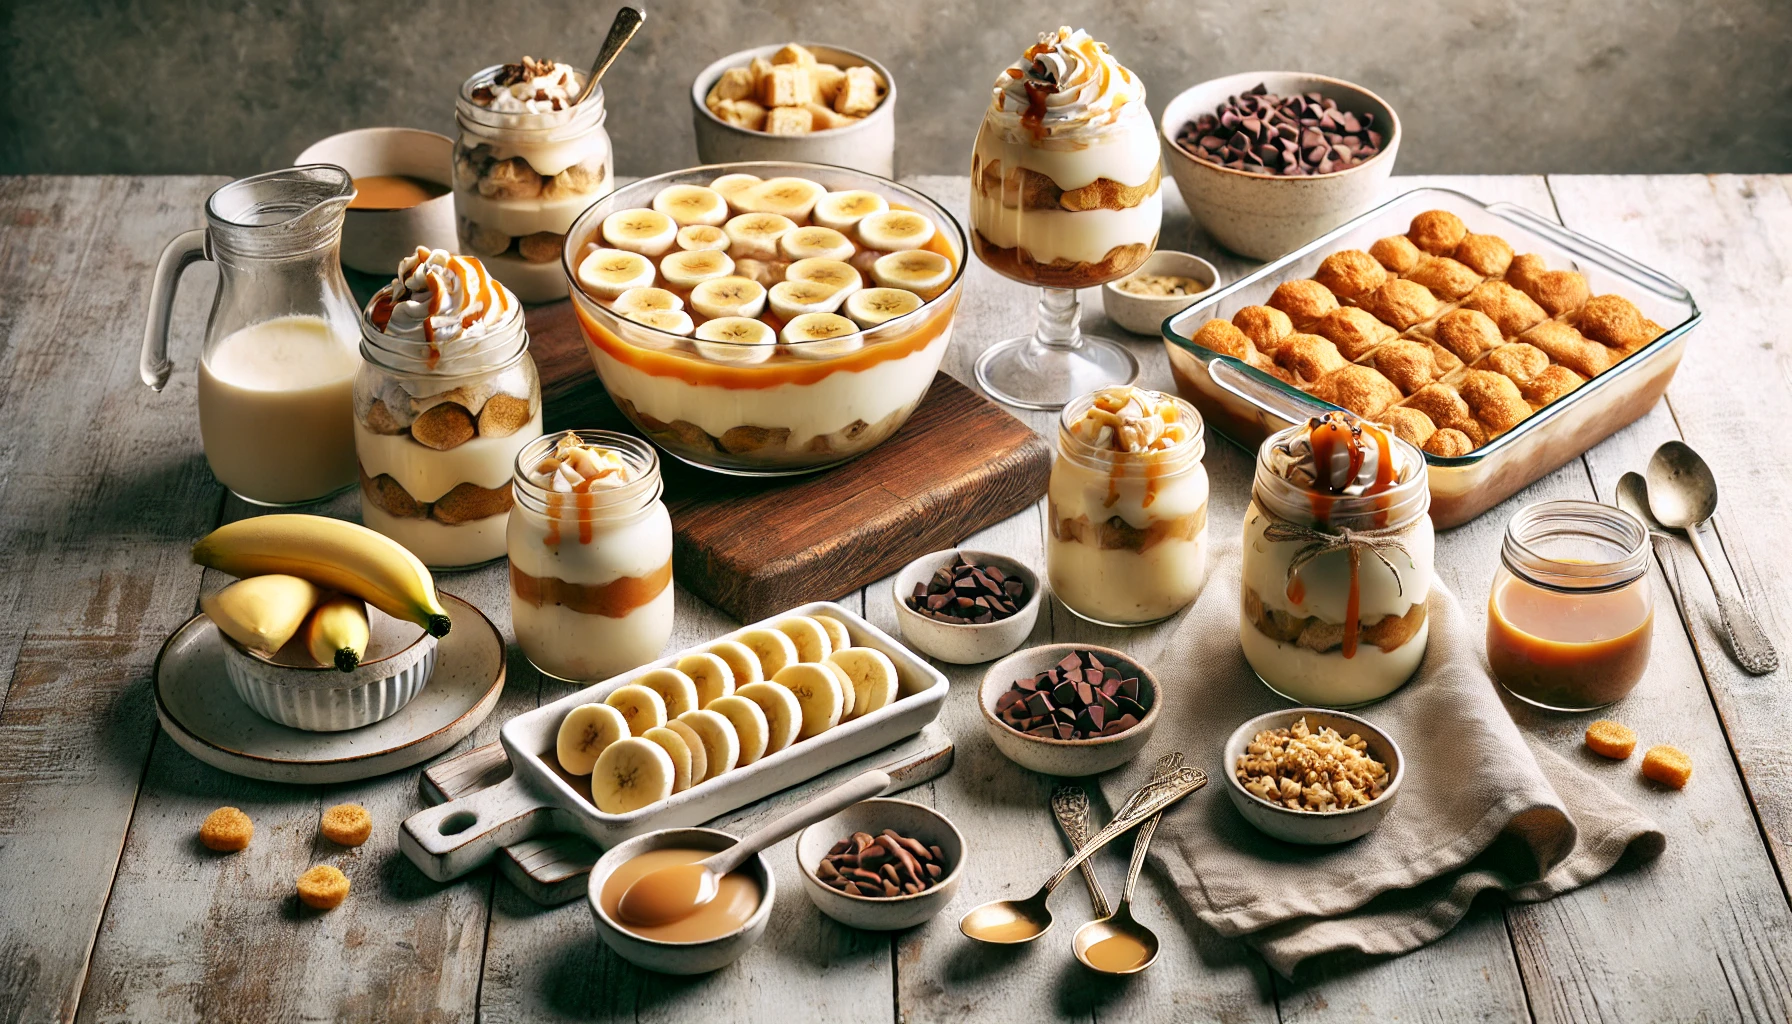
Serving banana pudding can be just as fun as making it! Here are some creative and elegant ways to serve this classic dessert, whether you’re preparing it for a family gathering or a fancy event.
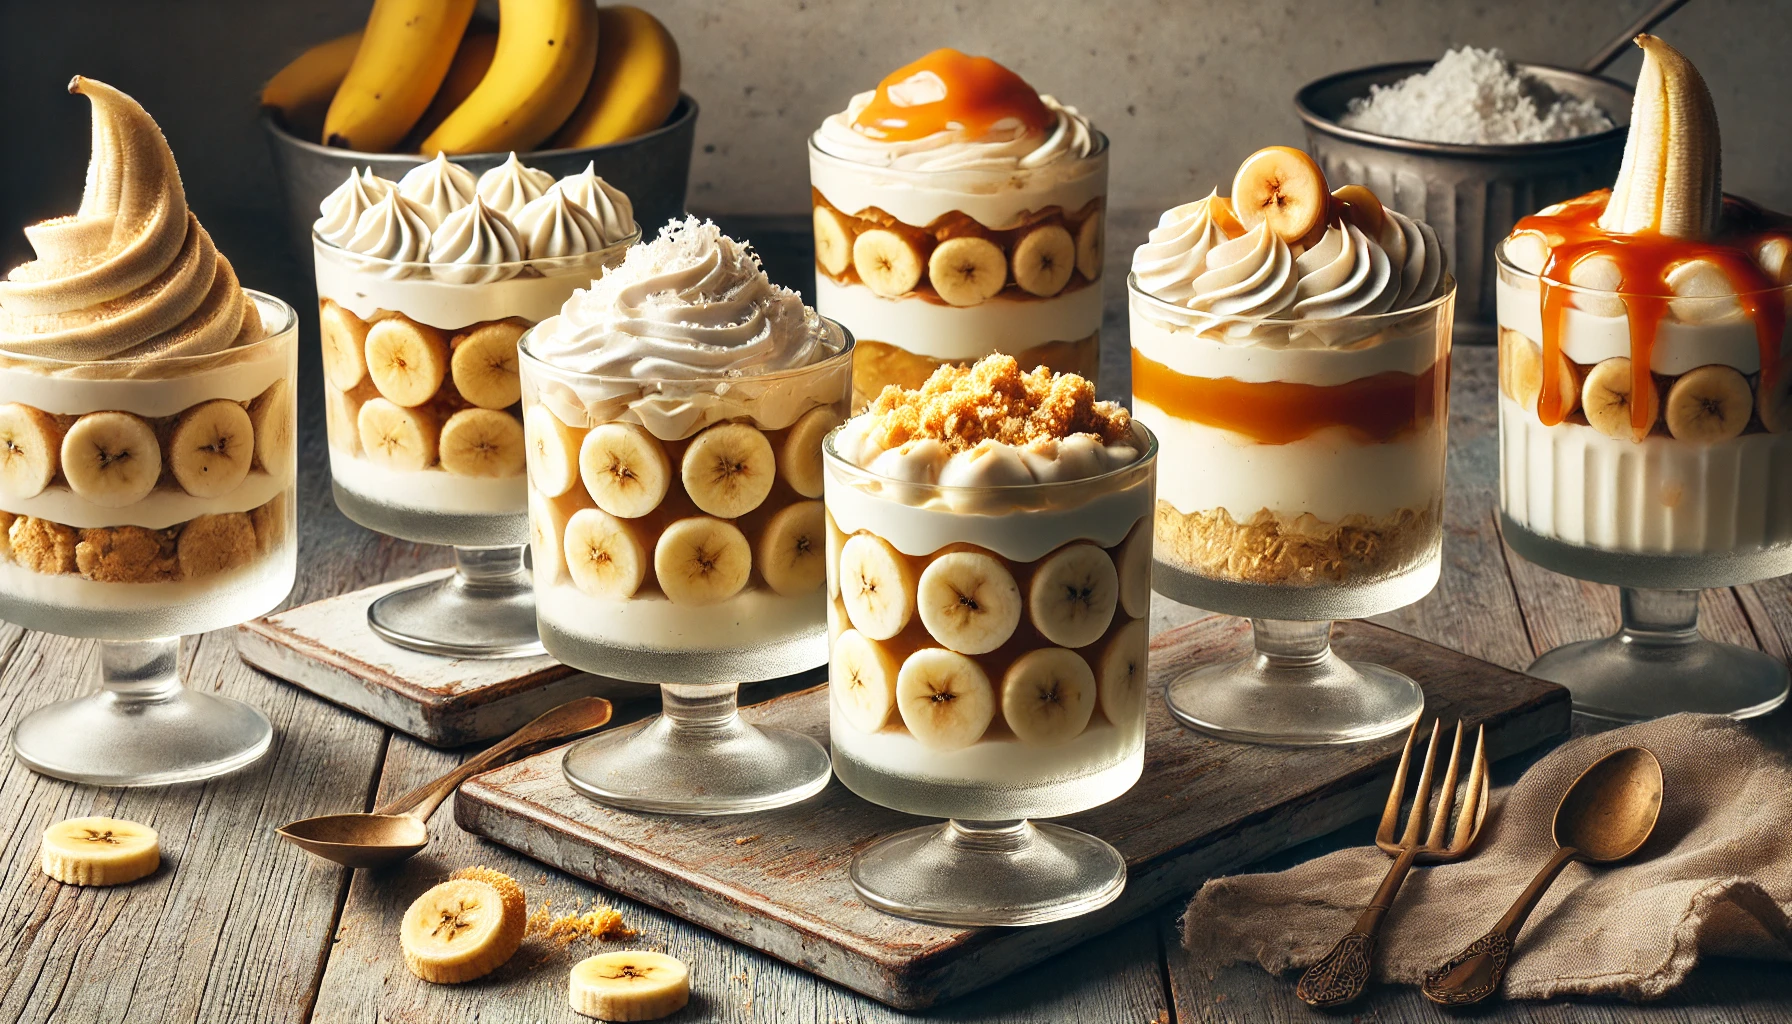
1. Individual Cups or Mason Jars
- Why? Serving banana pudding in individual portions is not only stylish but also practical for gatherings. Guests get a neat, pre-portioned dessert that’s easy to grab.
- Tip: Layer the ingredients in clear glass jars for a beautiful presentation where each layer is visible. Top each cup with a dollop of whipped cream and a single vanilla wafer or banana slice.
2. Trifle Bowl for a Showstopper Look
- Why? A large trifle bowl is ideal for showcasing the layered look of banana pudding. It adds an elegant touch to any table setting.
- Tip: Garnish the top with a sprinkling of crushed wafers and a few banana slices arranged in a circle for visual appeal.
3. Banana Pudding Bar
- Why? For larger gatherings, set up a banana pudding bar with toppings like caramel drizzle, chocolate chips, chopped nuts, or fresh berries. Guests can personalize their pudding, making it a fun and interactive dessert station.
- Tip: Arrange toppings in small bowls with serving spoons, so each guest can customize their own cup.
4. Layered in a Baking Dish
- Why? A classic, simple method. Serve banana pudding from a baking dish for an easy, family-style option. Perfect for potlucks or casual dinners.
- Tip: Use a glass baking dish to showcase the layers. Serve with a large spoon for easy scooping.
| Serving Style | Ideal For | Presentation Tip |
|---|---|---|
| Individual Cups | Parties, formal events | Garnish with whipped cream and a wafer |
| Trifle Bowl | Elegant gatherings | Arrange banana slices on top decoratively |
| Banana Pudding Bar | Interactive, family gatherings | Offer a variety of toppings |
| Baking Dish | Casual family-style dinners | Use a clear glass dish for layering effect |
Each of these serving ideas adds a unique touch to your banana pudding, making it an attractive and enjoyable dessert for any occasion.
Conclusion: Enjoy Your Delicious, Easy Banana Pudding!
Banana pudding is a timeless dessert that combines layers of creamy pudding, fresh bananas, and crunchy wafers for a treat that’s both comforting and delightful. This easy banana pudding recipe offers a versatile and approachable way to enjoy this classic. Whether you’re hosting a family gathering or preparing a quick dessert, banana pudding is guaranteed to impress.
With various serving ideas, customization options, and storage tips, you’re equipped to make banana pudding that looks and tastes amazing. Try it with creative toppings, adapt it to dietary needs, or simply enjoy it as is—there’s no wrong way to serve this dessert.
So, grab your ingredients and start layering. With just a few simple steps, you’ll have a delicious dessert that’s perfect for any occasion. Enjoy every creamy, banana-filled bite!
Frequently Asked Questions About Easy Banana Pudding
Can I Make Banana Pudding Ahead of Time?
Yes, banana pudding can be made a day ahead. This actually helps the flavors meld, giving it a richer taste. Just keep it tightly covered in the refrigerator until ready to serve.
What’s the Best Way to Serve Banana Pudding?
Serve banana pudding chilled directly from the fridge. For presentation, you can use individual cups, a trifle bowl, or a large baking dish. Garnish with extra whipped cream or crushed wafers.
Can I Use Homemade Pudding Instead of Instant Mix?
Absolutely! Homemade pudding adds a personal touch. Simply make the pudding in advance, allow it to cool completely, and use it in place of the instant mix for a richer flavor.
What Can I Substitute for Vanilla Wafers?
If you don’t have vanilla wafers, try using graham crackers, shortbread cookies, or digestive biscuits. Each brings a unique texture and flavor that works well with banana pudding.
How Do I Keep Bananas from Browning in the Pudding?
To slow down browning, dip banana slices in lemon juice before layering, or cover the pudding tightly to reduce air exposure. However, bananas in pudding may still naturally brown a bit over time.
Give Your Feedback On this Recipe
There are no reviews yet. Be the first one to write one.