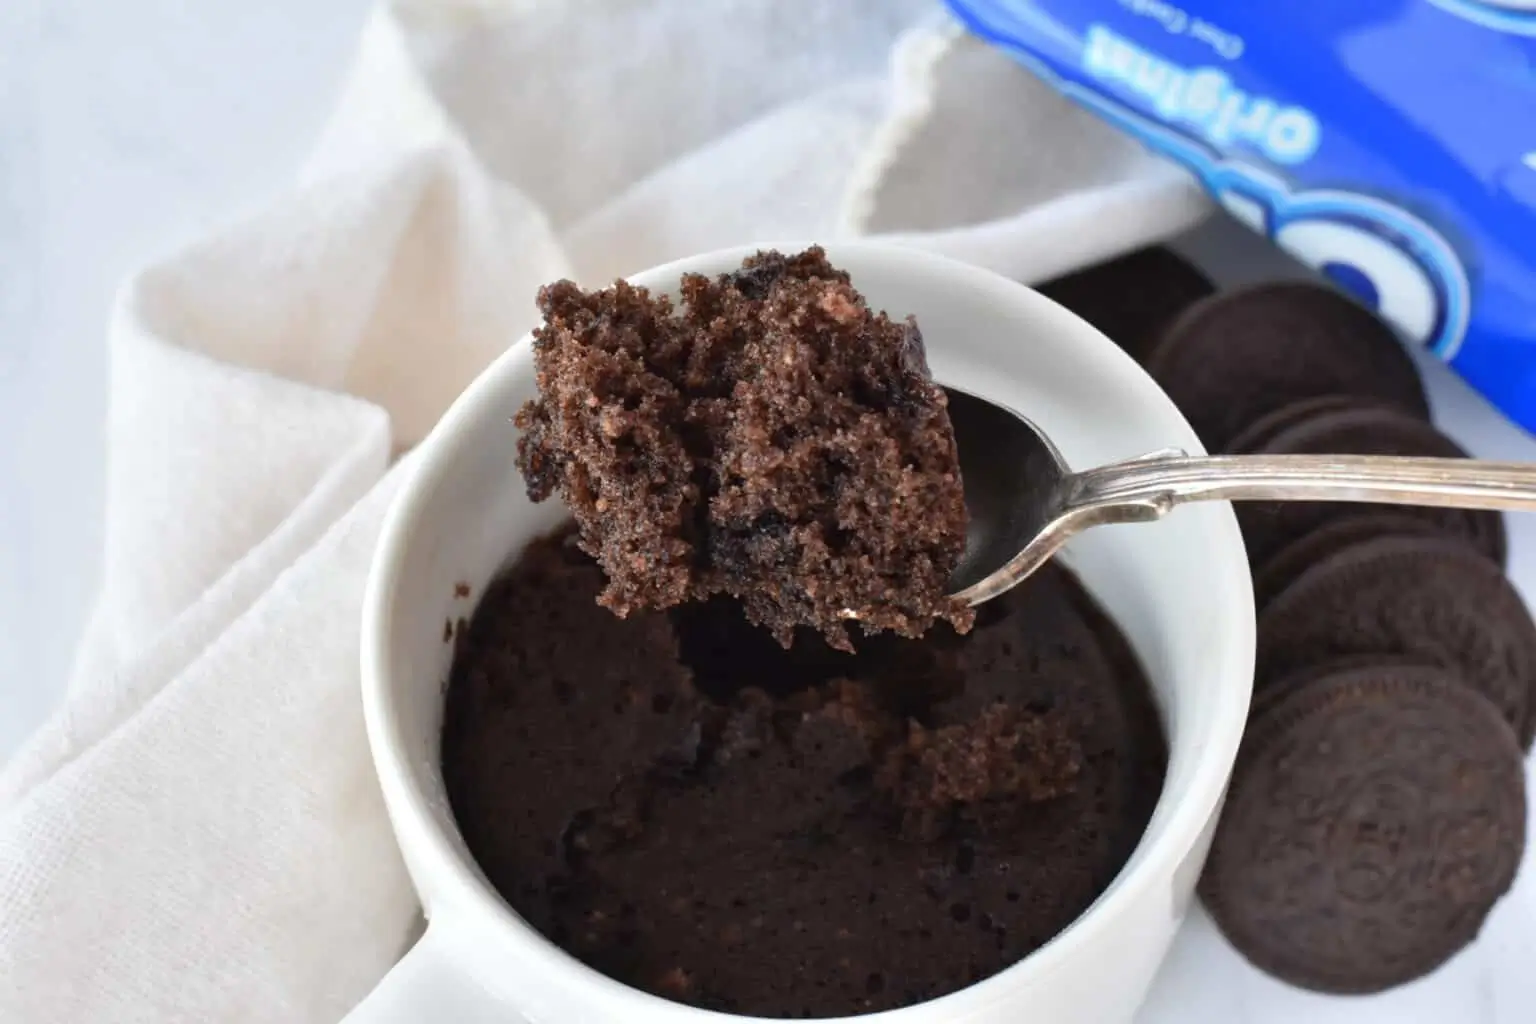
What is an Oreo Mug Cake?
An Oreo Mug Cake is a quick, single-serving dessert made using Oreos and a handful of basic ingredients. It’s prepared directly in a microwave-safe mug, making it an ideal treat when you’re craving something sweet but don’t want to bake an entire cake. The beauty of a mug cake is its simplicity—no mixing bowls or baking pans required!
Why Choose an Oreo Mug Cake?
- Single-serving: Perfect for satisfying a personal craving without leftovers.
- No oven needed: Ideal for busy days or when you don’t want to preheat the oven.
- Fast: Ready in about 2 minutes, including prep time.
- Customizable: You can tweak the ingredients and toppings to match your tastes.
Why You’ll Love This Oreo Mug Cake Recipe
This Oreo Mug Cake Recipe is perfect for anyone who loves the rich, creamy taste of Oreos and wants a quick dessert solution. Whether you’re short on time or simply want something easy and delicious, this recipe checks all the boxes:
- Super Easy to Make: Even if you’re a beginner in the kitchen, this recipe doesn’t require special baking skills. Just follow the simple instructions, and you’re good to go!
- Customizable: You can adjust the ingredients and add-ins based on your preferences. Add chocolate chips, peanut butter, or top it with whipped cream—there are so many possibilities.
- Quick and Satisfying: Sometimes you just want a small dessert to curb your sweet tooth, and this mug cake fits the bill perfectly.
Ingredients Needed for an Oreo Mug Cake
Here’s a list of all the ingredients you’ll need to make your Oreo Mug Cake. Don’t worry—everything is simple and easy to find at your local grocery store.
Main Ingredients
- Oreos (4-5 cookies) – The star of the show! You can use any variety, but the classic Oreos work best.
- Milk (3 tablespoons) – Whole milk works best, but you can substitute with almond milk, soy milk, or other milk alternatives.
- Baking Powder (1/4 teaspoon) – This helps the cake rise and become fluffy.
- Flour (4 tablespoons) – Regular all-purpose flour will work fine.
- Sugar (1 tablespoon) – Some sweetness to balance out the richness of the Oreos.
- Butter (1 tablespoon, melted) – This adds moisture and richness to the mug cake. You can also use vegetable oil as a substitute.
Optional Add-ins
- Chocolate Chips – Add 1 tablespoon for a more decadent chocolate flavor.
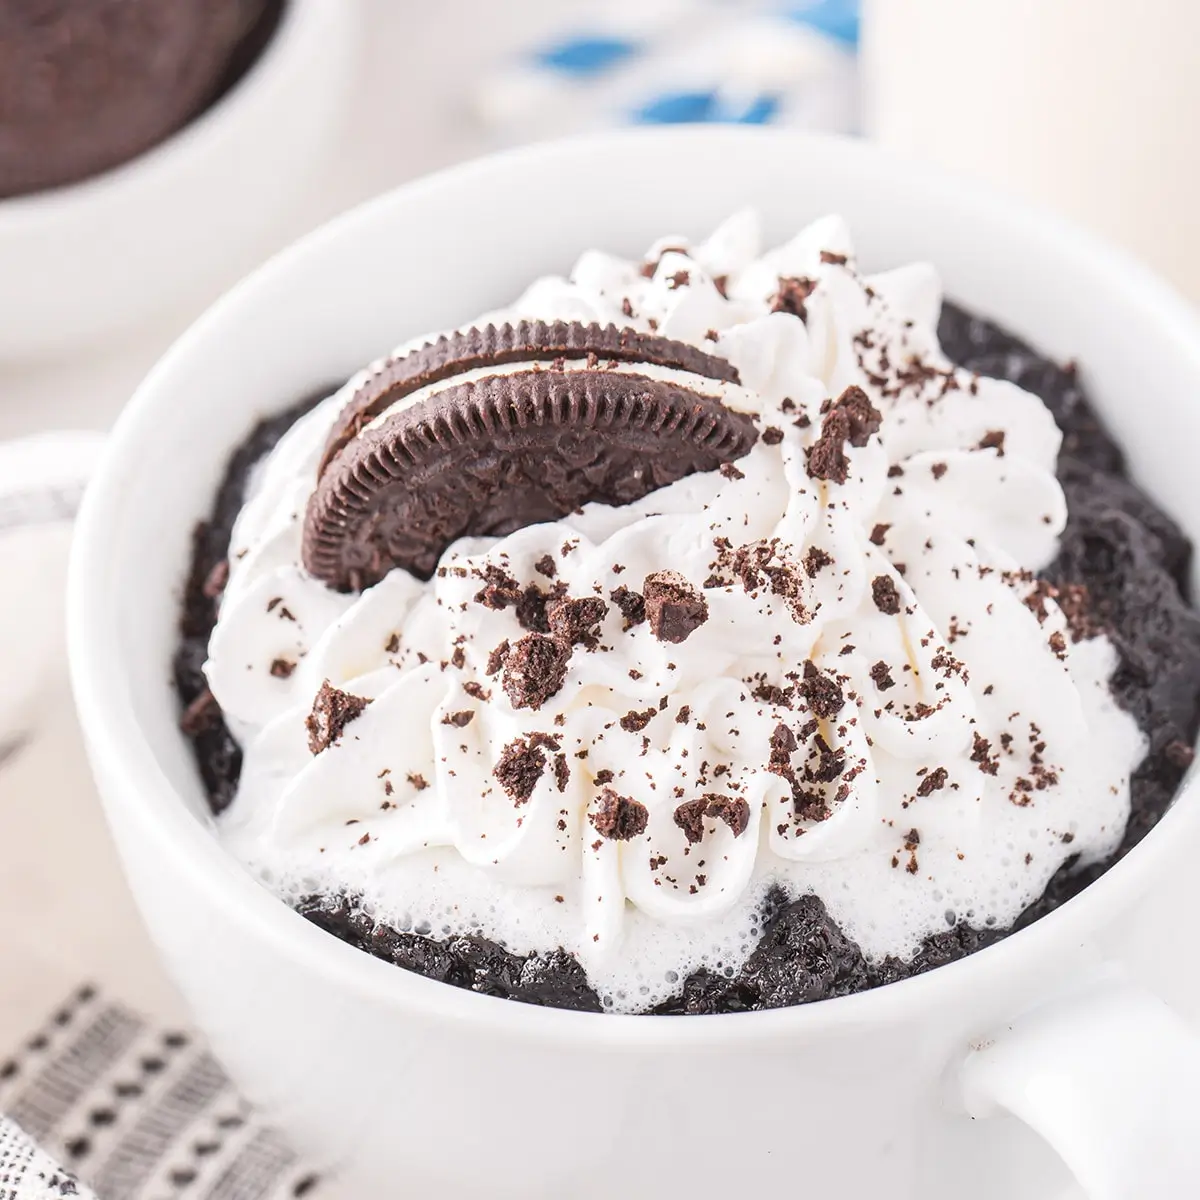
- Whipped Cream – For a creamy topping.
- Vanilla Ice Cream – The perfect pairing to cool down the warm mug cake.
- More Oreos – Crush extra Oreos and sprinkle them on top for more texture.
How to Make Oreo Mug Cake – Step-by-Step Guide
Now that you have your ingredients, it’s time to get baking (or rather, microwaving). Follow these simple steps to create your Oreo Mug Cake in just a few minutes.
Step 1: Prepare Your Mug
- Choose a microwave-safe mug. A larger mug is better to avoid any overflowing. A standard 12-ounce mug works great for this recipe.
- If you prefer, you can grease the inside of the mug with a little butter or non-stick spray to make removing the cake easier.
Step 2: Crush the Oreos
- Place 4-5 Oreos in the mug. Use the back of a spoon to crush them into fine crumbs. You want the crumbs to be small enough so they mix well with the other ingredients but not so fine that they lose their texture.
Step 3: Mix the Wet and Dry Ingredients
- Add 3 tablespoons of milk and 1 tablespoon of melted butter into the mug with the crushed Oreos. Stir until well combined.
- In a separate bowl (optional), mix 4 tablespoons of flour and 1 tablespoon of sugar with 1/4 teaspoon of baking powder. Then, add the dry ingredients to the mug and stir everything together.
Step 4: Microwave the Mug Cake
- Place the mug in the microwave and cook on high for 1 minute and 15 seconds. This timing may vary depending on your microwave’s wattage. If the cake isn’t fully set, microwave for an additional 10-15 seconds.
- Keep a close eye on the cake while it cooks. You don’t want it to overflow or overcook.
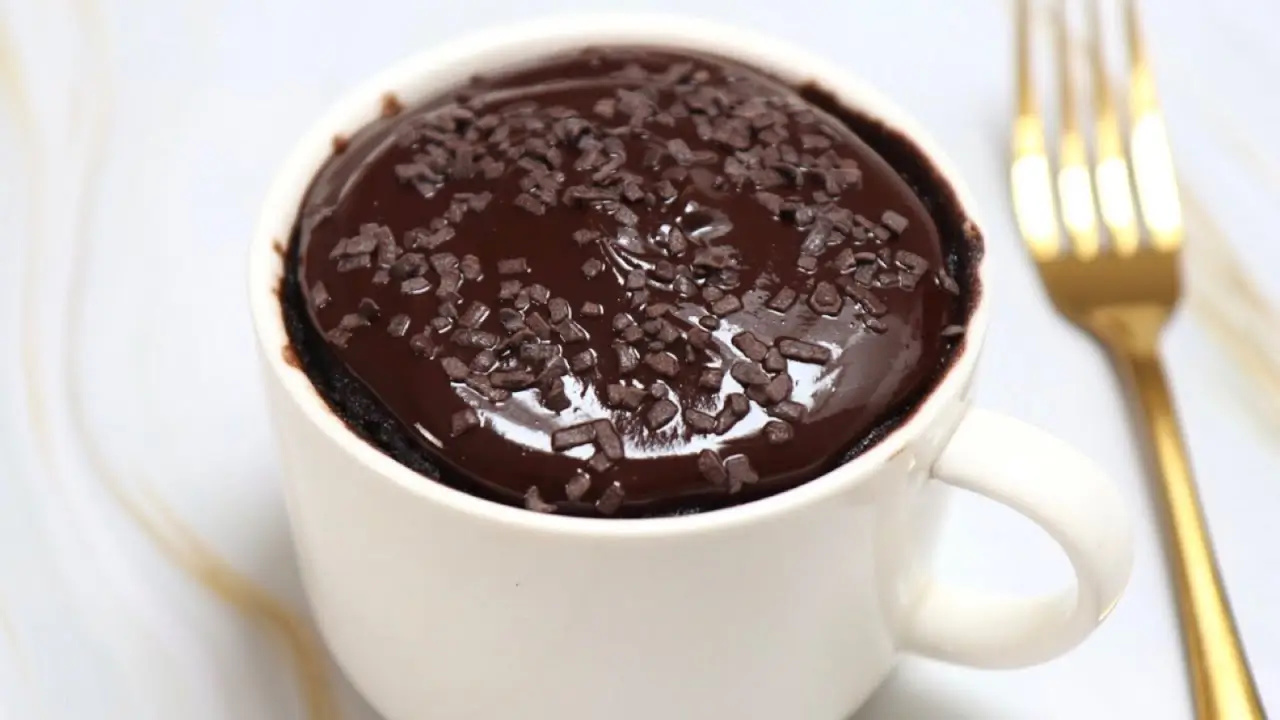
Step 5: Add Toppings (Optional)
- Once the mug cake is done, let it cool for a minute before adding any toppings. Add whipped cream, crushed Oreos, or a scoop of vanilla ice cream for an extra treat.
Tips for the Perfect Oreo Mug Cake Every Time
To ensure your Oreo Mug Cake turns out perfectly each time, follow these expert tips:
- Don’t Overfill the Mug: Leave some room at the top (about half an inch) to prevent overflow.
- Adjust Microwave Time: Microwaves vary, so your cooking time might differ. Keep checking to avoid overcooking.
- Use Room Temperature Ingredients: Room temperature milk and butter mix better and lead to a smoother batter.
- Keep it Simple: Less is more—don’t overcomplicate the recipe with too many add-ins or toppings.
Common Mistakes to Avoid When Making Oreo Mug Cake
Even though this recipe is simple, here are some mistakes to watch out for:
- Using Too Small a Mug: Make sure your mug has enough room to allow the cake to rise without overflowing.
- Not Stirring Properly: Make sure the ingredients are fully mixed. Dry flour pockets can lead to uneven texture.
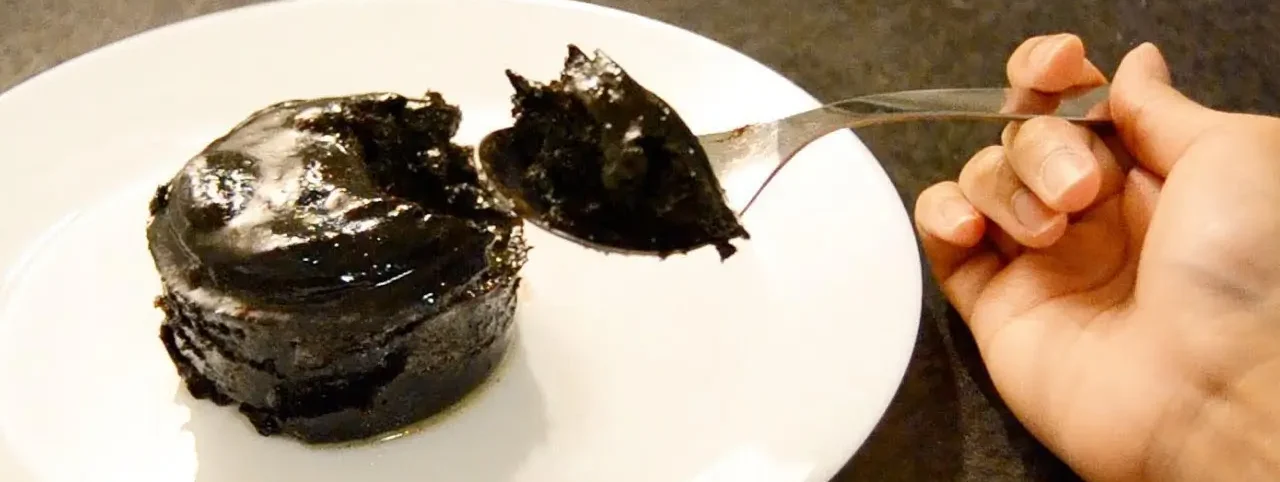
- Overcooking: It’s better to undercook slightly and let the cake set than to overcook it. An overcooked mug cake can turn dry and rubbery.
Can You Make Oreo Mug Cake in the Oven?
While this Oreo Mug Cake recipe is designed for the microwave, you can adapt it to the oven if you prefer. Here’s how:
- Temperature: Preheat the oven to 350°F (175°C).
- Bake: Pour the batter into a small baking dish or ramekin and bake for 10-12 minutes or until a toothpick inserted into the center comes out clean.
Can I Make Oreo Mug Cake Ahead of Time?
Mug cakes are best enjoyed immediately while they’re warm and soft. However, if you need to make it ahead of time, you can store the batter in the fridge for up to 24 hours. When ready to cook, just pop it in the microwave for 1-2 minutes.
FAQs About Oreo Mug Cake Recipe
Can I Make a Vegan Oreo Mug Cake?
Yes! Simply substitute the milk with almond milk or oat milk, and use a plant-based butter alternative. You’ll still get the delicious flavor of Oreos.
What If My Mug Cake is Too Dry?
If your Oreo Mug Cake comes out dry, try adding a little extra milk next time. It’s important to find the right balance between wet and dry ingredients.
Can I Use Gluten-Free Oreos for a Gluten-Free Mug Cake?
Yes, you can use gluten-free Oreos, making this mug cake perfect for anyone with gluten sensitivities.
Oreo Mug Cake Variations to Try
Get creative with your Oreo Mug Cake Recipe by trying these fun variations:
- Mint Oreo Mug Cake: Swap out regular Oreos for Mint Oreos for a refreshing twist.
- Peanut Butter Oreo Mug Cake: Add a tablespoon of peanut butter to the batter for a nutty, chocolatey delight.
- Nutella Oreo Mug Cake: Stir in a tablespoon of Nutella for a rich chocolate hazelnut flavor.
- Cookie Butter Oreo Mug Cake: Add speculoos cookie butter for a spicy-sweet kick.
Why Oreo Mug Cakes Are Perfect for Busy Weeknights or Late-Night Cravings
An Oreo Mug Cake is the ultimate solution for when you need a quick treat without any fuss. It’s a great option for busy weeknights, or when you’re craving something sweet after a long day and don’t feel like baking. Plus, with only a few minutes of prep time, it fits perfectly into even the most hectic schedules.
Conclusion: Enjoy Your Oreo Mug Cake!
There you have it—everything you need to know about making a delicious Oreo Mug Cake. This recipe is a simple, fun, and customizable dessert that you can make anytime you’re in the mood for something sweet. Whether you’re a beginner or a seasoned baker, this mug cake is sure to satisfy your cravings.
Share Your Oreo Mug Cake Experience!
We’d love to hear how your Oreo Mug Cake turned out! Drop a comment below, share your favorite variations, or ask any questions you may have. Happy baking (or microwaving)!